No juggling.
No workarounds.
No stress.
Download Easy Intro Add-in
- Prefer video? Watch here: The Instant Intro Animation Fix for PowerPoint (Mac and PC)
- Want to follow along? Jump to How to Set up Easy Intro Add-in, and come back when you are done
Start with a blank slide.
Empty.
Clean.
Like a clean desk before work begins.
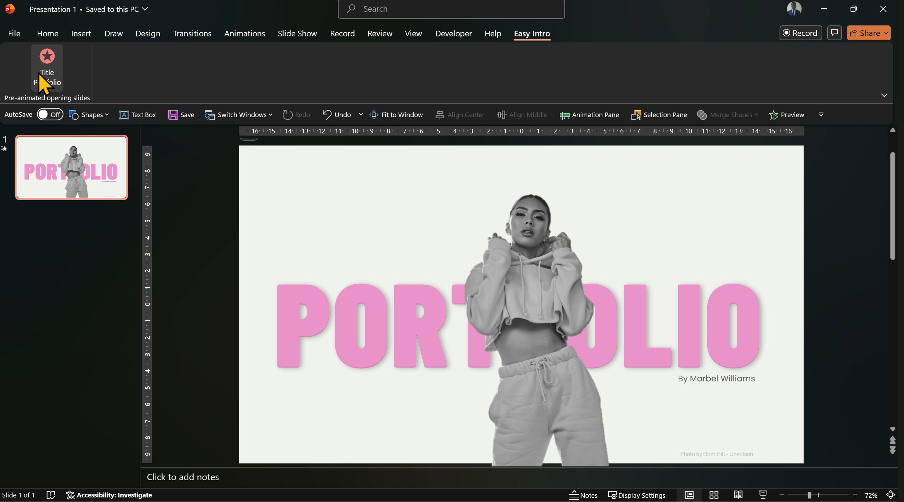
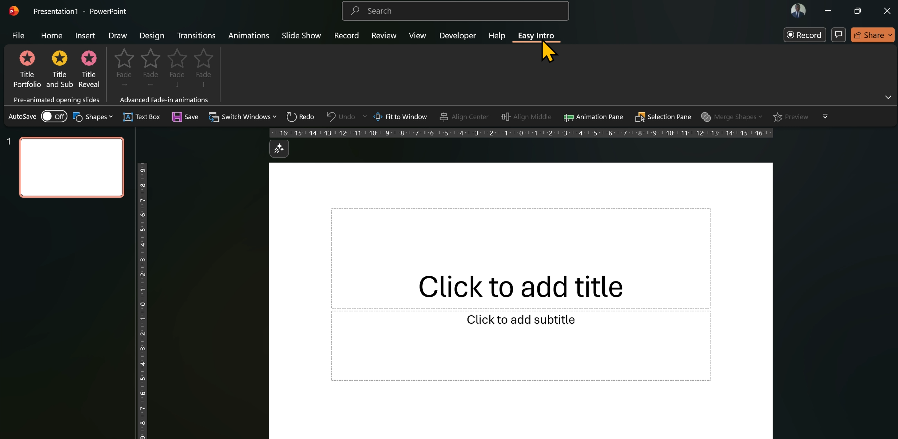
Open Easy Intro.
Choose Title Portfolio.

Wait a heartbeat…
The structure appears.
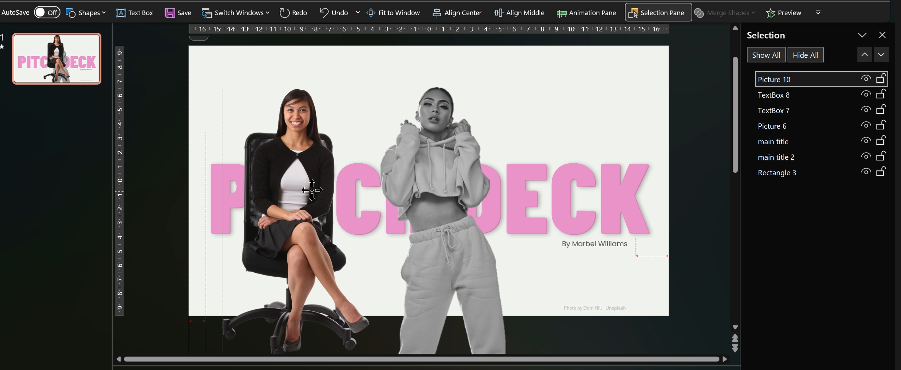
Now open the Selection Pane. (Home => Arrange => Selection Pane)
See the two title boxes?
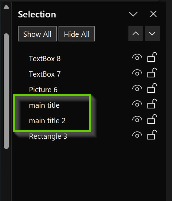
Hide the second one (main title 2).
Edit the first.
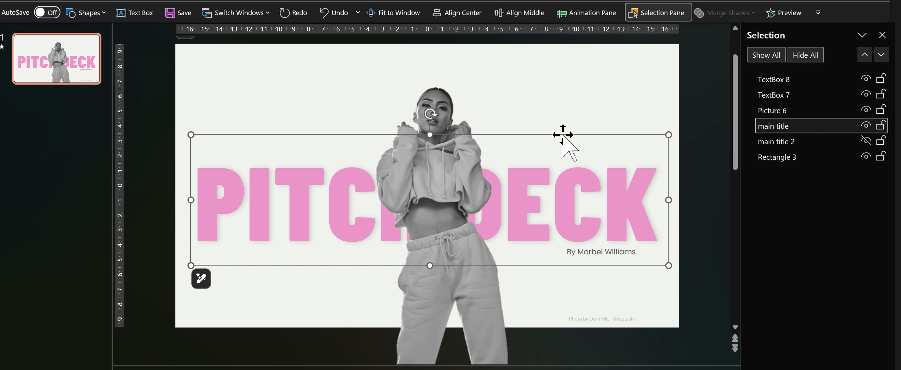
Then switch.
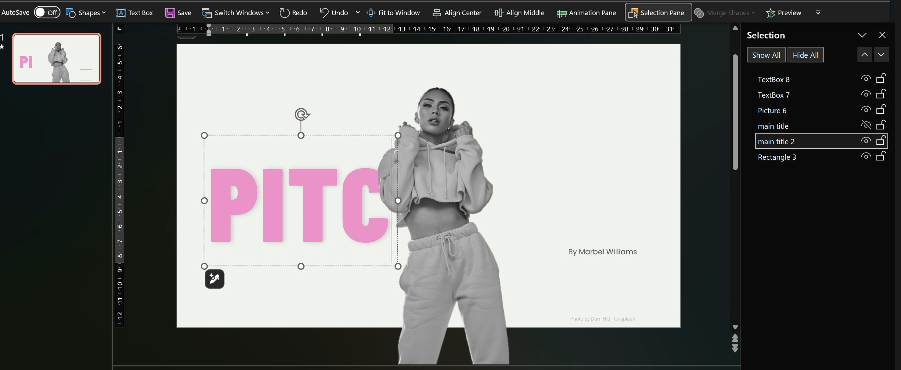
Unhide the second.
Hide the first (main title).
Edit again.
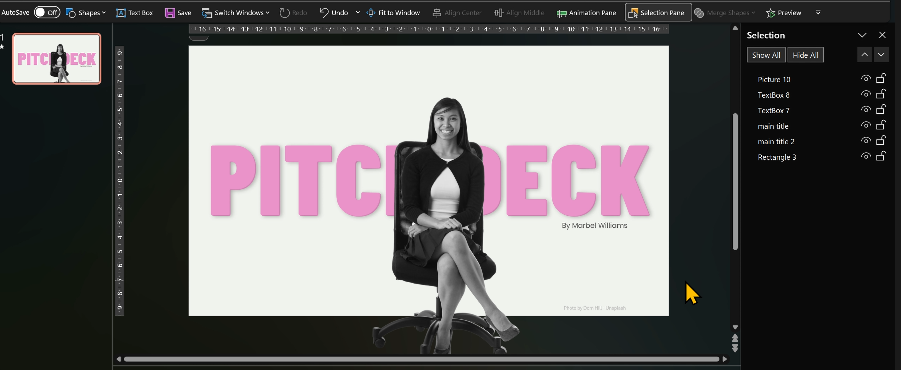
Unhide both and align them together.
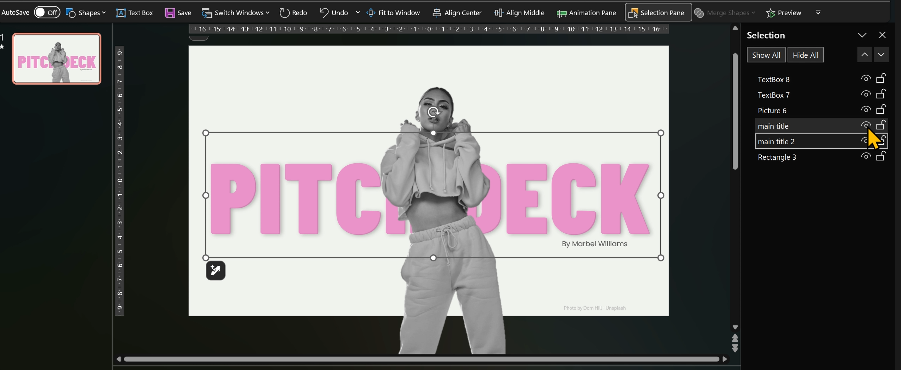
Clean.
Balanced.
Done.
Drop in your image.
Or your logo.
Or whatever feels like you.
Copy the animations from the placeholder. Use Animation Painter.
Move your image to the center.
Delete the old one.
Change the sub-text.
Or remove it entirely.
Your choice.
Run the slideshow.

And there it is.
Your opening slide, already done.
Want something with a title, subtitle, and a logo?
Same idea.
Blank slide.
Easy Intro.
Choose Title and Sub.
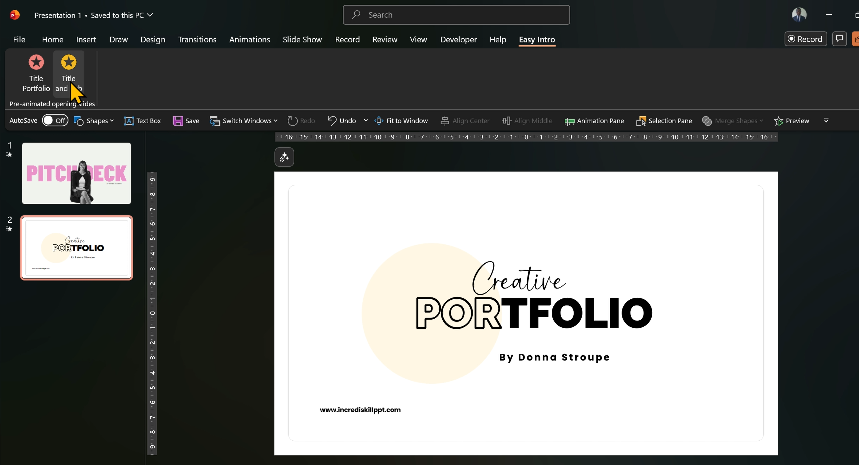
Edit the text like before.
Run the slideshow.
Instant.
Professional.
No fuss.

Looking for something more dramatic?
Still clean.
Still professional.
Still one click
Blank slide.
Easy Intro.
Choose Title Reveal.
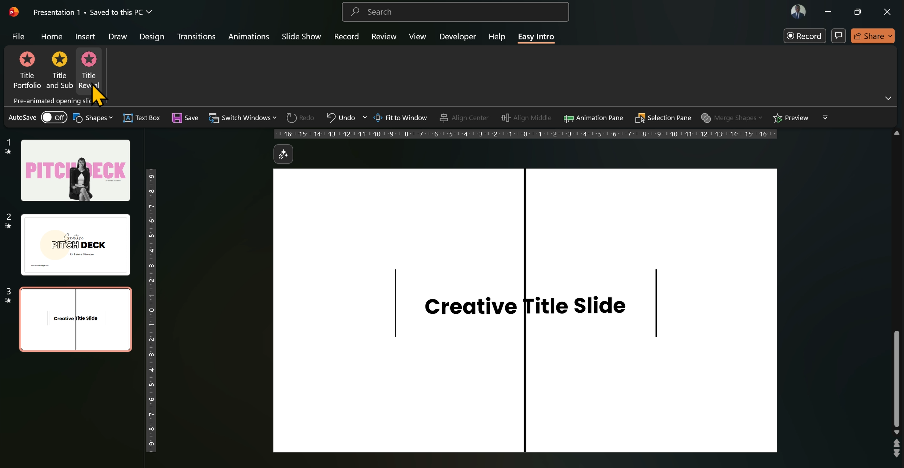
Edit your text.
Center it on the lines.
Run the slideshow.

Look at that opening animation.
Now imagine creating it manually.
Yeah… exactly.
Already have your content
and just need solid animations?
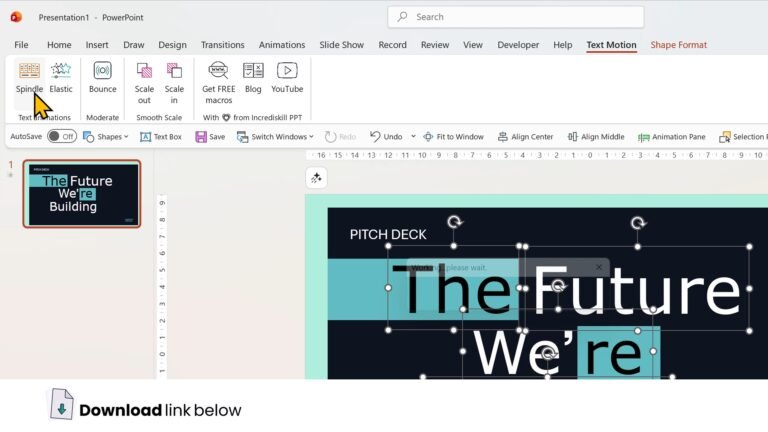
Meet Advanced Fades.

Say you’re revealing four items.
Select the first item.
Click the first fade.
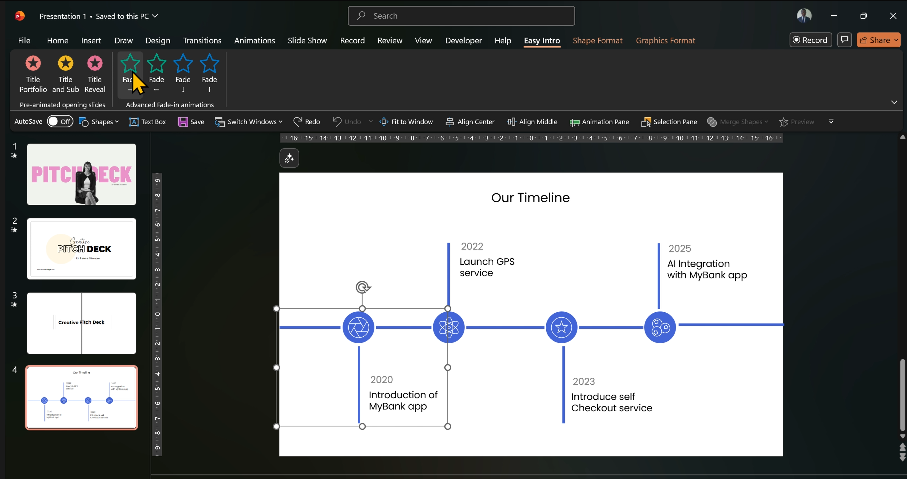
See the little arrow?
That’s the direction.
Second item → second fade.
Third → third.
Fourth → fourth.
Run slideshow.
Smooth.
Clean.
Sequential.
You can switch them to “Start With Previous” if you like.
Total control.
But what about installation?
No. You don’t need installation.
Download the ZIP folder.
Extract it.
Inside you’ll see two files:
– The Easy Intro add-in
– The User Agreement
Read it.
Copy the add-in file to your Add-ins folder.
On Windows, you’ll find it on
[C: \Users\yourusername\AppData\Roaming\Microsoft\AddIns]
If you don’t see AppData folder, go to “View” on your Windows Explorer, “Show” and select “Hidden items”

On Mac:
Copy the add-in
Open Go to Folder
Search: ~/Users/[your_username]/Library/Group Containers/UBF8T346G9.Office/User Content/Add-ins
Paste the file
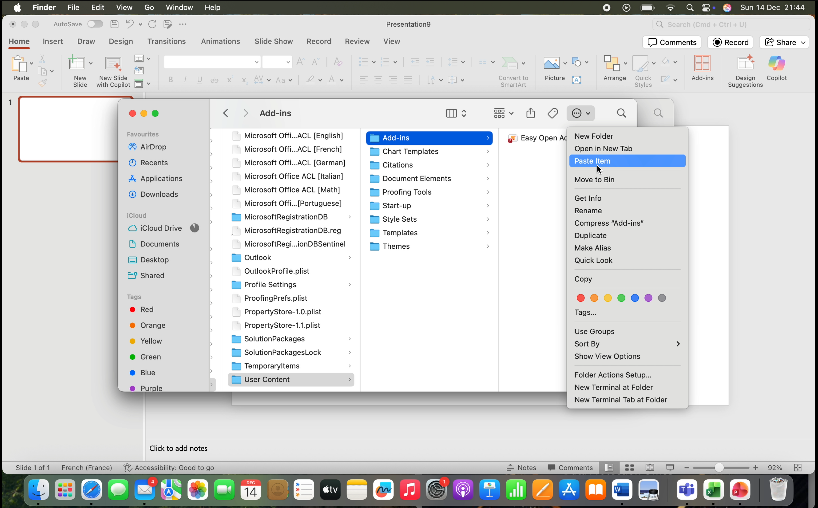
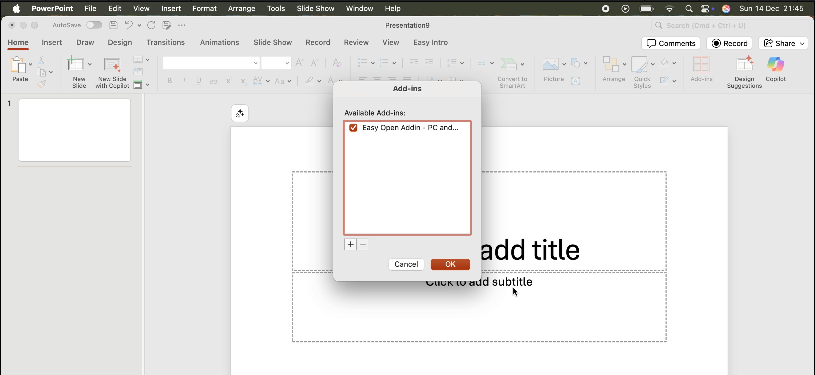
Open PowerPoint
Tools => PowerPoint Add-ins…
Click the + icon
Find your Add-ins folder, select Easy Intro Add-in file and click Open
Select “Enable Macros“
Click “Turn Off” when asked “Do you want to turn off macro virus protection?“
Click OK to finish
On Windows,
Open PowerPoint.
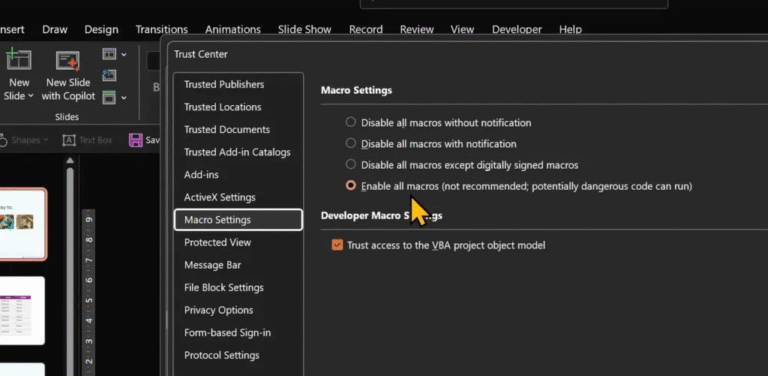
We need to turn on a few switches before your add-in can do its thing.
File → Options → Trust Center → Trust Center Settings.
Open Macro Settings.
Select Enable all macros.
Check Trust access to the VBA project.
Click OK.

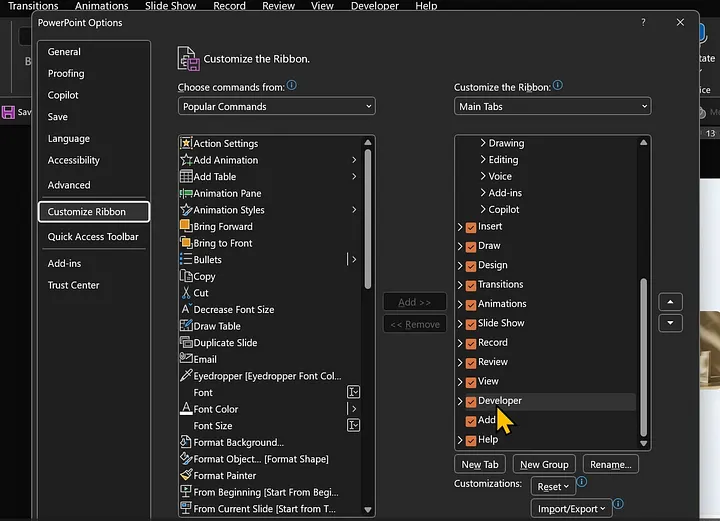
Now hop over to Customize Ribbon.
Make sure Developer is turned on.
Click OK to return to PowerPoint.
Nice. Your workspace is ready.
Almost.
Go to Developer tab.
Open PowerPoint Add-ins.
Choose Add New.
Find Easy Intro.
Select the file.
Click OK.
The add-in loads.
A fresh new tab, Easy Intro, appears like a new tool dropping onto your desk.
Close the Add-ins window.
And just like that, everything’s set up.
You’re ready to start creating.
And that’s it.
A tiny tool that punches way above its weight.
More tools are coming.
Stay close.